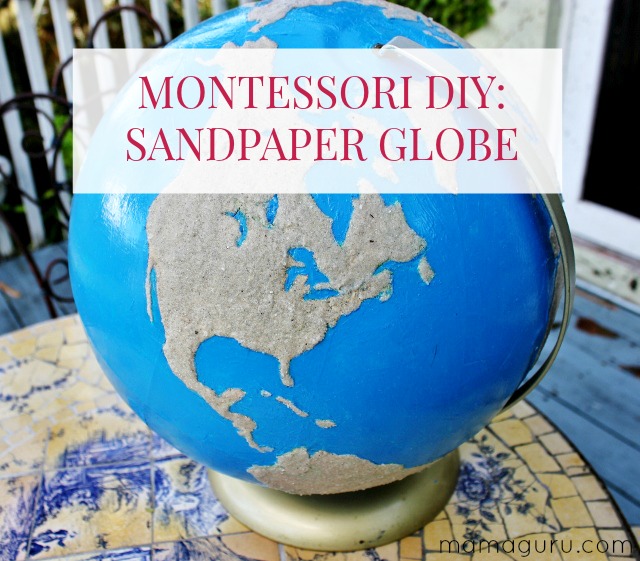
Teach preschoolers about the earth using a Montessori Sandpaper Globe! Here are wonderful DIY plans so you can make your very own Sandpaper Globe. Children are tactile learners, so the Sandpaper Globe let’s them learn the make-up for our planet using touch. They LOVE that! It helps children to see and feel how much of the earth is water and how much is land. In addition to the Sandpaper Globe DIY, there are also geography and geology lesson plans, including a Montessori Land, Water and Air Lesson.
[clickToTweet tweet=”Young children are tactile learners. A sandpaper globe lets them learn about earth by touching it!” quote=”Young children are tactile learners. A sandpaper globe lets them learn about earth by touching it!”]
It’s very easy and a little messy to make your own Sandpaper Globe. Here’s how to do it!
How to Make a Montessori Sandpaper Globe
1. Search thrift stores or family members’ basements for an old globe. We found one at a thrift store with the USSR on it and a $6 price tag. (Great recycling lesson here!)
2. Paint over the oceans and large bodies of water with a bright blue craft paint. Allow paint to completely dry overnight.
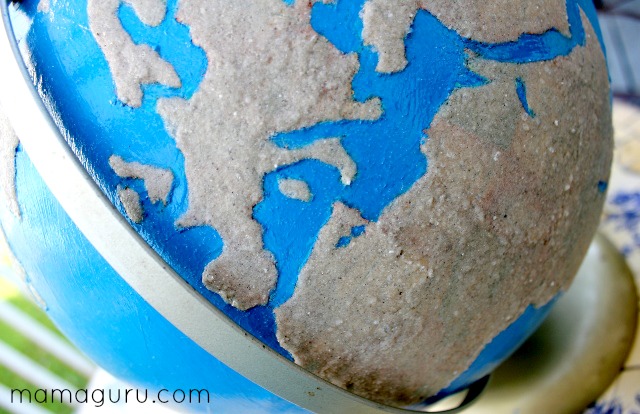
3. Working in small sections, apply craft glue to the land masses with a fine paint brush. Sprinkle with sand and gently pat it into the globe (You can get sand from the beach or buy it at a hardware store.) Allow the sand to dry. This works best if done over a period of a few days. Trying to get it all done at once makes for a messy and uneven finished product. If you miss a spot, simple go back the next day to touch up when it is completely dry. A lot of details in archipelagos will be lost. That’s OK. This is just to give a general concept of Earth. Don’t let perfect be the enemy of good!
[clickToTweet tweet=”Don’t let perfect be the enemy of good!” quote=”Don’t let perfect be the enemy of good!”]
4. Once all of the globe is covered and dry, coat it with Mod Podge. Allow it to dry and then begin your lessons.
How to Teach with a Montessori Sandpaper Globe
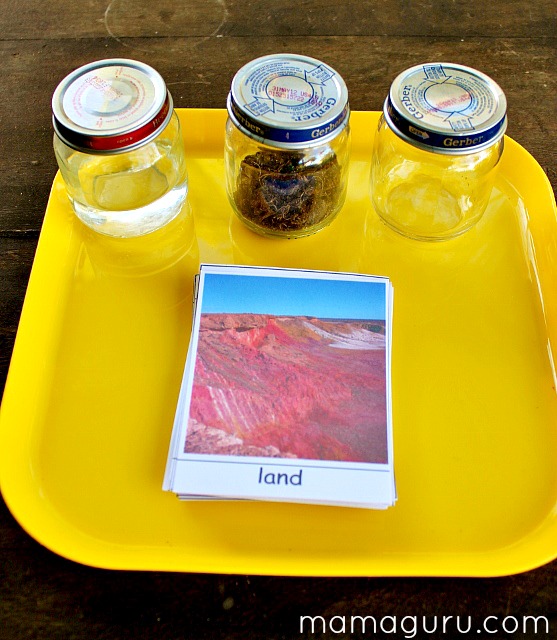
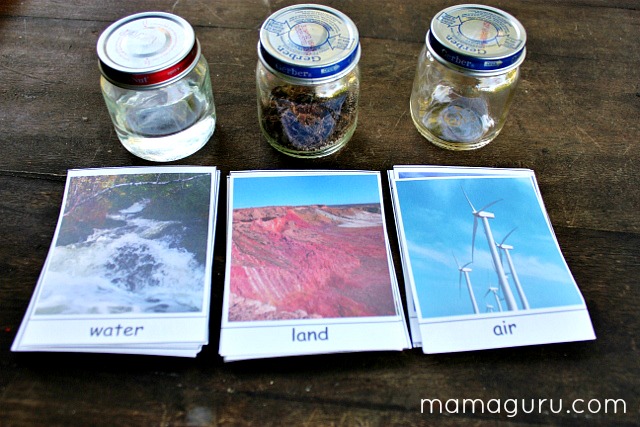
1. Before introducing the globe, explain that Earth is made up of three things: water, land and air. Make sure your children have seen an ocean, lake or river, so they have a concept of a large body of water. Give your child small jars of dirt, water and air. You can talk about air and how you breathe it and how wind is moving air that you can feel.
2. Give your child cards that represent water, land and air. Allow your child to classify each by placing them in front of the jars. Question mistakes in a friendly way. Keep it positive. Take nature walks and point out land, water and air.
3. When you introduce the globe, say, “This is a globe. It represents the planet Earth.” Teach your child to place his hands on it and feel it with reverence. Tell him that the water is smooth and the land is rough. Show him how it can slowly rotate. Let your child explore the globe on his own. Answer questions. Point out where you and loved ones live.
4. Once your child has explored the globe, ask him about air. Explain that the air is over both the land and the water. You can show pictures of Earth from space and point out clouds.
5. Allow your child access to the globe and classification cards and jars at his will. The next step will be introducing continents, so move in that direction.


Hi Rachael! Great question! I printed mine a long time ago, but here is a link to a free printable that looks similar. http://www.thenaturalhomeschool.com/3-montessori-inspired-land-water-air-activities-printables.html I have found that googling “free montessori printable cards for_____” usually gets good results. Good luck! Have fun with this lesson!
Just wondering-did you make the cards yourself or can they be printed somewhere?
This is so neat! What a cool and unique idea!!
THIS IS AWESOME so loving it
What a awesome idea. Will be showing this to my daughter. I want help my grandkids do this.
Well this craft doesn’t involve much skill. It’s just paint and glue. This is excellent for the preschool set.
What a great idea! I love the thought of using something rough to teach about the land. We are starting our 7th year of homeschool, and each year that I add a young child, I get more inspired to go closer to Montessori. It’s so great for the younger ones.
Yes, the kids really enjoy touching it.
What a unique craft! I love the texture aspect of it.
This is way too cool and neat! I wish I was this crafty sometimes! My kids arent in school yet but I better get up on these things before they go to school!