OK, not even I expected this one, but it’s just so cool I had to share it with you. We are growing mushrooms in our home! I adore gourmet mushrooms, but they are expensive and not always available at my everyday supermarket. My family and I are trying to move as far away as we can from the mainstream food supply because of all the hidden and overt threats to it. Unfortunately, we are not fabulous gardeners. We keep trying and have a mixed bag of success and failures. Once we heard we could cultivate mushrooms, we decided to give it a whirl.
Guess what?
It’s super easy and pretty much foolproof seeing as we’ve managed to make them grow. You can buy a mushroom growing kit or follow the directions below to grow your own. My husband attended a workshop put on by the park’s department and for a $20 donation, he walked away with the knowledge for cultivating his own and five bags to get started.
Supplies
Straw, not hay (Straw consists of hollow wheat stalks with little nutritional value, whereas hay consists of a variety of nutritional grasses.)
Pressure cooker or large canning pot
Mycelium (This is the mushroom spawn. You can buy organic mushrooms and eat them as usual. Save the bit at the end where the stems connect. That is mycelium.)
Filtered water (Tap and distilled water are both not good options.)
Large ziplock bags
1. Fill your pot half way full with filtered water and bring it to between 160° and 180°. Add straw so that pot becomes full. Stir so it is well mixed. Maintain the temperature range of 160°-180° for one hour to pasteurize the straw. Note: you are not sterilizing it, which would be at a higher temperature, because it would kill too many nutrients.
2. Spread hot straw on a meticulously clean table. Once comfortable to touch, add mycelium and mix to distribute.
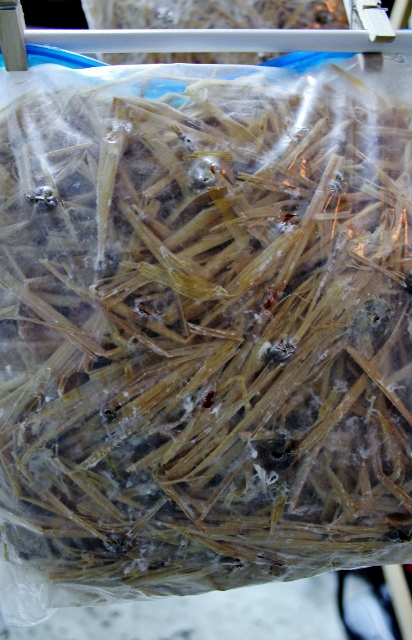
3. Fill ziplock bags with the mix and poke holes on all sides for the mushrooms to sprout.
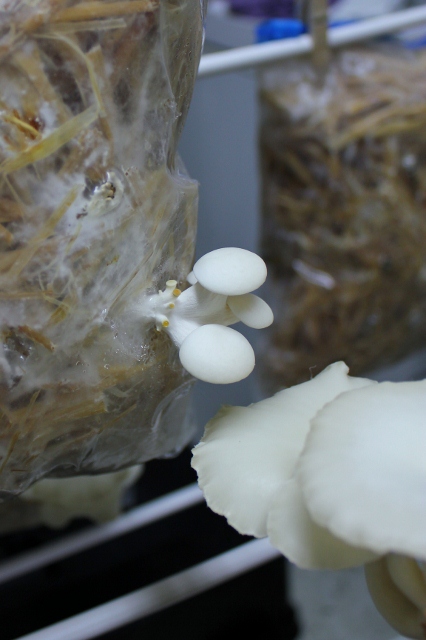
4. Hang bags wherever you want for a month or two. Dark areas are preferable, but not crucial. Many people store them under their kitchen sinks. You will notice white fungus slowly spread throughout the straw. If you have kiddos, have them observe and chart this fascinating process!
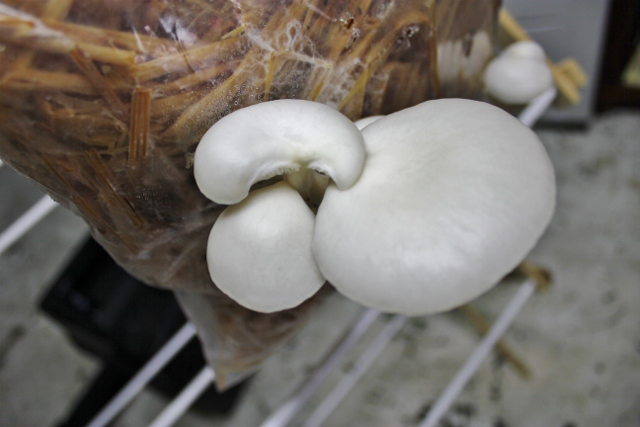
5. Cut off the first mushroom sprout to encourage more growth. (Eat it!) After that, harvest at will. You will now have mushrooms for the rest of your life. AMAZING! Eventually the mycelium will grow to be a solid white mass. You can break it up and repeat the process for someone else.
Mamaguru’s Famous Mushroom Flatbread Recipe
1 recipe of pizza dough
5 c mixed sliced mushrooms
3 cloves of garlic, minced
1/4 c olive oil
2 t preserved lemons, minced (optional)
2 T fresh thyme
shavings of Parmesan cheese
1. This recipe makes 2 pizzas, so divide everything in half. Preheat oven to 450°, preferably with a pizza stone.
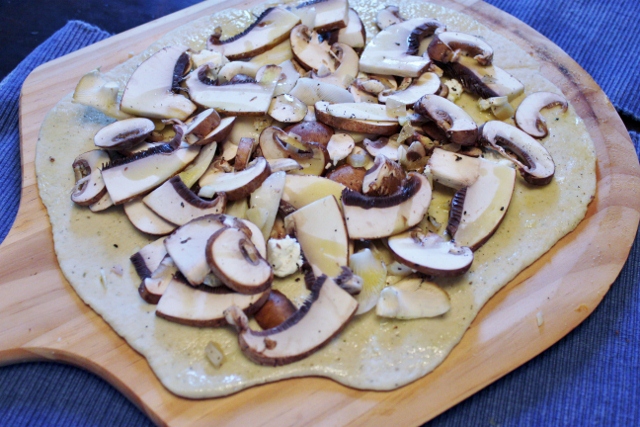
2. Toss mushrooms, garlic, olive oil and preserved lemons together and season liberally with sea salt and black pepper.
3. Roll out dough and place it on a pizza paddle or a pan sprinkled with cornmeal. Add mushrooms and drizzle with a bit more olive oil for good measure. Bake for about 15 minutes, until mushrooms are juicy and smell wonderful.
4. Sprinkle thyme and Parmesan shavings over warm pizza and eat right away. Enjoy!
The Bottom Line
Ha! What a deal! One spindly portion at the grocery store costs $4.99. We paid $20 for a lifetime supply of organics!
You can grow other varieties the same way. Shitake mushrooms can also be cultivated on a log (will post about this later). It might be nice to do this with a group of friends, so you can each have multiple varieties.
This kind of gardening is called hydroponic, which uses less land and is subject to less diseases and pests. I am just beginning to learn about it, but our results have been amazing thus far. Even an urban dweller can grow their own mushrooms under his or her sink. What a lovely replacement to the toxic cleaners that used to reside there.
Spread the word!





Leave a Reply