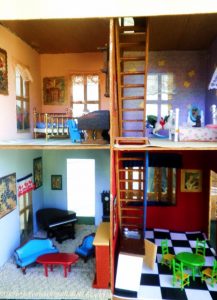
Here’s a fun project to do either for a special little girl in your life, or with her: renovate a dollhouse. Years ago, in the heart of my singlehood, I happened upon a tag sale on my way to a coffee shop. I found an amazing, but rundown, Victorian dollhouse. For $25 I bought the dollhouse which included a complete set of amazing antique doll furniture. It was a bit of an investment, because I correctly assumed that the furniture was collectible, so I promptly sold the furniture for several hundred dollars. I also renovated the dollhouse just for fun. I’m sorry to say, I don’t have any “before” pictures, nor do have pictures of that amazing porcelain and cast iron furniture. I do have pictures of the house with a few pieces of furniture and directions on how I did it.
The roof was made out of a real shingle. I went to Home Depot and asked if I could buy just one shingle when I found they were only sold in enormous packages, since most people need to cover square footage rather than square inches. A worker opened up a package and gave me one for free. I needed work gloves to handle it, but I cut it using heavy-duty work sissors. I used good old rubber cement to adhere it to the roof.
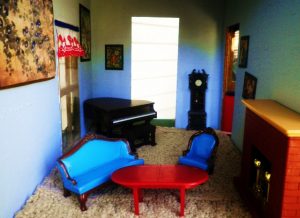
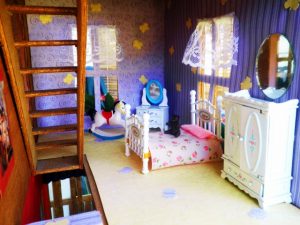
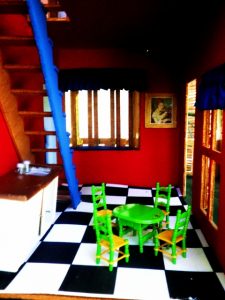
I painted the house with lots of shades of simple craft paint. I also used craft paper from the scrap-booking aisle for wallpaper. Lace and trimming scraps served as window treatments.
I used an old carpet remnant for the livingroom and a black and white checkered foam board for the kitchen floor.
I cut small blooms from silk flowers for the window boxes.
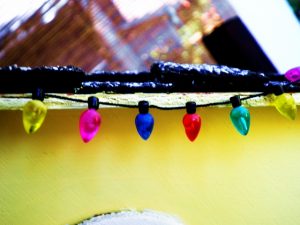
I also bought fun Christmas decorations, including these great Christmas lights. The complete Christmas decorations included a tree in the bay window, quilting padding for a soft layer of snow, lights and evergreens in the window boxes. Sorry I don’t have a picture of the complete look, but you get the idea.
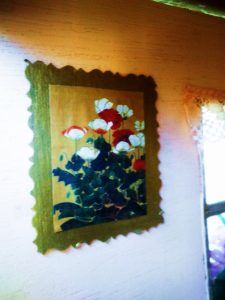
The most fabulous part of the decor was the artwork. I cut out pictures from the Museum of Modern Art’s catalog. Using fancy craft scissors, I cut out rectangles of cardboard to look like frames. I gilded them with silver, gold and black sharpies. This part would be fun for the kids to participate.
At this point in life I know I will not have a little girl of my own to whom I could give this house. I wanted to give it to my niece, but my sister didn’t have room in her car to transport it across state lines. At some point it will end up in a tag sale. If you stumble upon it, please enjoy. But better yet, find your own dollhouse and get to flipping it. I hear the housing market is getting ready to rebound.







Wow! That’s so great. It’s fancier than the house I had as a child. I just used a spray adhesive and my old stand-by, Modge Podge.
I have the same dollhouse. My dad put it together for me when I was a little girl. I still have it and plan to renovate it with my daughter. Thanks for the ideas! What did you use for adhesive for the carpet and “wallpaper”?
I’m tempted, but I live 3,500 miles away from my mom, so the shipping would be very expensive. My home is also small, so I can’t justify sacrificing much needed space for it. It’s hard giving up something I love, but ultimately, I’d rather it end up in the hands of a little girl who would enjoy playing with it. Thanks for you comment.
Since you have enjoyed the find and its renovation, why not keep it for yourself!
The doll house looks very beautiful. I like the wooden stair and the green colored sofa.
I am so happy to have sparked your own creativity. Send me a picture when your reno is done. I’d love to see it!
This is beautiful! Thank you for posting! I just got a free doll house and I am about to start fixing it up for my daughter. She’s only 4 months old, but I have visions of giving it to her when she is older, and spending the next few years pouring love into it!