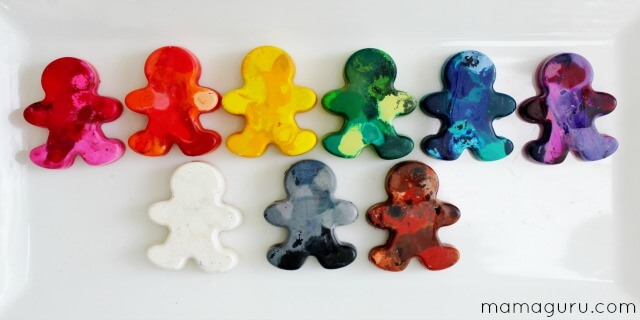
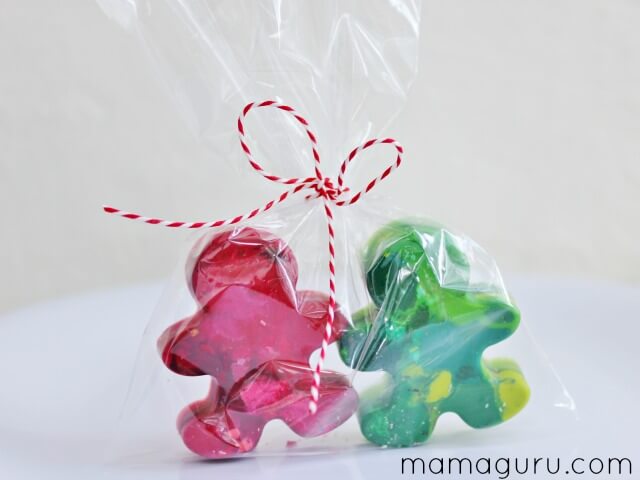
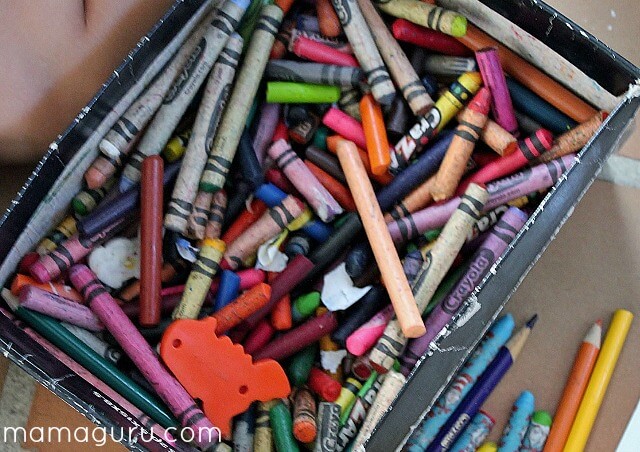
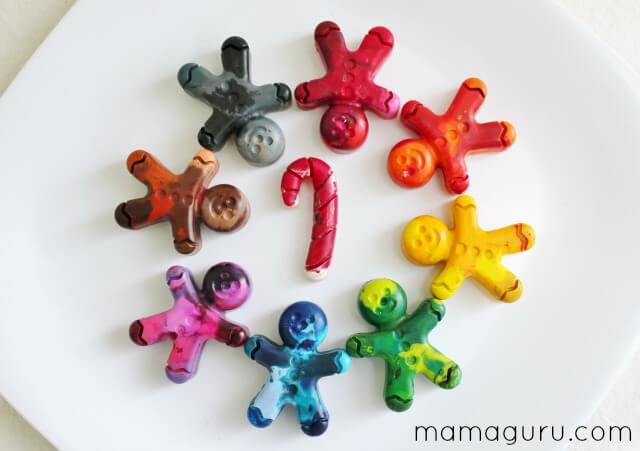
Making molded crayons is one of the funnest recycling projects you can do with kids! Turn a box of mismatched, broken crayons into brand spanking new crayons that are so cute you can even give them away as gifts. My sons and I made these adorable gingerbread boy crayons to give as token Christmas presents for their classmates one year. They were a huge hit, but you could do this with any shape any time of the year.
Molded crayons are both cute and useful, which can be a tall order when coming up with small gifts. These are particularly wonderful for chubby toddler hands, but preschoolers and kindergartners also enjoy the fun shape. Best of all, kids can be involved in this project which involves math (sorting), science (melting), art (color mixing and color families), spiritual development (generosity), environmental education (repurposing), and lots of exercise for fine-motor muscles.
Materials Needed for Molded Crayons
crayons (Crayola and RoseArt work best.)
mold*(either metal or silicone)
How to Make Molded Crayons
1. Sort the colors. My kids really loved helping with this part and were focused by the purposefulness of their task. We had a piece of scrap paper to draw a line if we weren’t sure what the color of a crayon was. We talked about the different shades of each color family and debated where to put colors like teal. It was so wonderful to foster their intellectual curiosity.
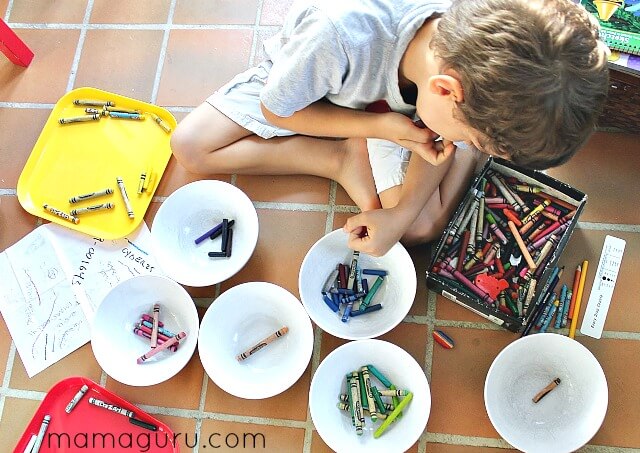
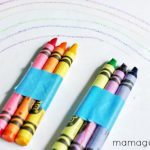
2. Unpeel the crayons. This is tedious and it was nice to have some little helpers. Soaking them in water would speed things up, but then you’d want to let them dry so the water wouldn’t ruin the consistency. If you have several days to do this project, that’s an option.
3. Chop the crayons into small bits. This helps give an easy, consistent melting. I let my kids break the larger crayons, but I used a knife to make the small bits. Needless to say, smashing things created lots of smiles.
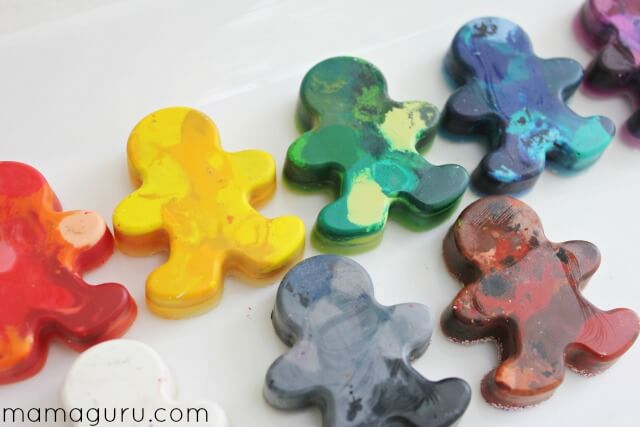
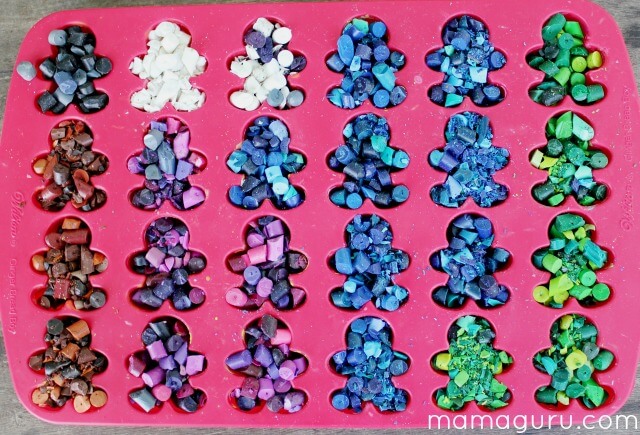
4. Put the crayon bits into molds. Think about colors and color mixing. I chose to keep mine in color families, with an odd, complimentary color thrown in. You can do a color mixing lesson here too by putting red and yellow together. I really like showing the different shades and tones within a particular color, so I kept mine divided.
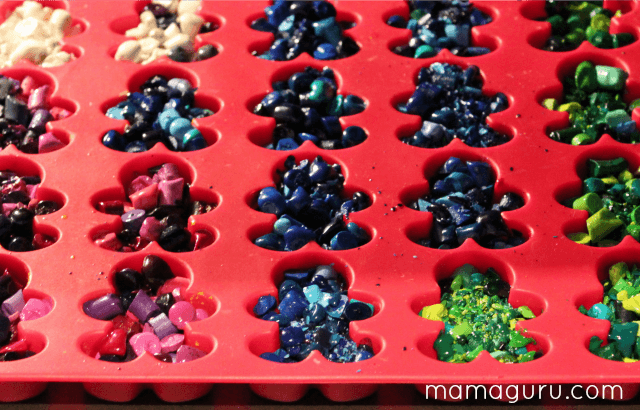
5. Place them in a 250º oven for about 15-20 minutes until they melt. You can use a higher temperature, but I found that keeping it low helped maintain more color variations within a mold. I also got the oven hot, put the molds in, turned it off to run an errand, and came back to perfect crayons. This is not a precious process. Once the crayons are melted, take them out. Let them cool completely before you try to unmold them. If they seem stuck, pop them in the freezer for a bit. You will be amazed by how easily they pop out.
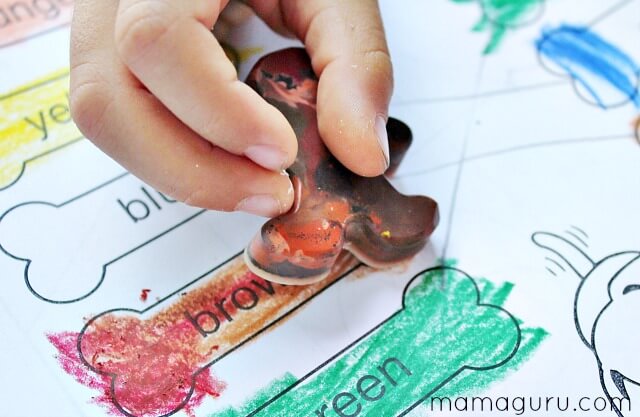
6. Color away!
Helpful Hints for Making Molded Crayons
- Look in the candy molding section or use a dollar store cupcake tin for a mold. Try not to choose a shape with small parts. You can see I made a candy cane. I was only able to successfully unmold one out of four without breaking, so chose to make bigger shapes.
- Be sure to reserve this mold for crafts and not reuse it for food just to be on safe side.
- As crayons melt, they will take up less space. You can mound up the crayon bits before you melt them to make up for this shrinkage. If your mold is deep, just let the crayons melt down to size. If it is a shallow mold, you can add a few more crayon bits once the crayons have melted down.

Great Children’s Books About Crayons
Did this project rekindle your love of crayons? If so, I’ve got some great books for you to read.
(FYI: These books do contain affiliate links, meaning I’ll get a small commission if you buy them, but I am recommending them purely because I love them.)

The Day the Crayons Quit by Drew Daywalt
This hilarious book consists of letters various crayons have written to Duncan airing their grievances. Yellow and Orange Crayons argue over who is the true color of the sun. Peach Crayon is embarrassed because peeling off his wrapper made him naked. Red Crayon is tired and wants the holidays off. The illustrations are amazing. I have read this story to so many kids and they all adore it!

The Day the Crayons Came Home by Drew Daywalt
This is a fantastic sequel to The Day the Crayons Quit. In this story, various crayons write postcards to Duncan relating their mishaps and adventures. Neon Red Crayon has been left behind on a vacation and is traveling the world to get home. Glow in the Dark Crayon is scared because he was left in the basement. Orange and Yellow Crayons have become friends and are now melted together after being left in the sun. Fans of the first book will love this funny follow up.


how stinkin’ cute is this? You’re so creative!
Wow this is really neat & creative! Must try!
This is such a great idea. Will save for when my LO is older.
This is such a cute idea, and a great twist to make it into gifts! Thanks for sharing!
What a great idea! I love it.
Absolutely love this idea! Can’t wait to have fun doing this with my littles
I love these, they turned out so cute. I also loved that you included a couple of books to go along with it.
These are adorable!! I love “The Day the Crayons Quit”! It is my sister’s go to book gift.
What a great idea for broken and old crayons! I have a lot of molds too so this would be great to do with my kids crayons
These are so cute! totally want to do this now with all the broken crayons in our house!
I love this idea. Especially for tiny hands! I might have to try this out sometime. Thanks!
You’re right! They’d be great stocking stuffers. That was originally my plan, but then we decided to make them together to give to my children’s friends. You could put together a bag of these, a coloring book or pad and one of those crayon books for a really sweet gift too!
Excellent, Kim!
You’re welcome, Ellie! Have fun with it!
I’m so glad you found this, because you don’t have to throw them out!
They are endless, Ashley!
What a cute and fun gift this could be! I’m thinking of all the mold possibilities now!
This is such a great idea! My daughter has broken a lot of crayons already and I would always just throw them out. I didn’t think I could re-use them. Thank you.
OH this is BEYOND cute! I think I will be doing this very soon my youngest always takes off the papers from the crayons and this would be solve that problem for sure! Thanks for sharing.
Love this! My daughter will love peeling them the most – what a great idea. Pinning to do very soon!
What a fun and great way to recycle crayons. These would make great stocking stuffers.