With Easter just around the corner grocery stores are stocked with extra dozens for the spring rush. There are many lovely tips for decorating Easter eggs, but I’m concerned about how they taste. There are so many ways to go wrong. Yolks turn grayish green and chalky if cooked too long. Some shells cling to the whites, creating craters on deviled eggs or they crack in odd places. Here are simple, but very effective, tips to make the perfect hard-boiled egg.
1. It’s counter-intuitive, but the freshest eggs are not the best choice for hard-boiled eggs. They tend to cling to their shells, so buy your Easter eggs now, not on Saturday.
2. Place eggs in a pot and fill with cold water until all the eggs are covered. This prevents premature cracking.
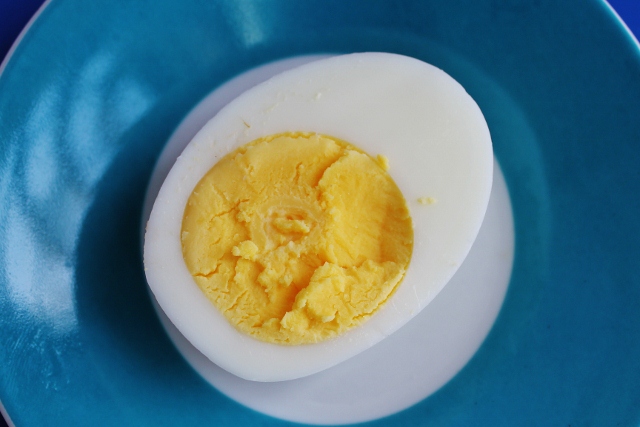
3. Bring the water (with the eggs) to a full boil. Turn off the flame and cover pan with a lid. Let sit for exactly 8 minutes. This is just enough time to cook the egg to perfection.
4. Gently pour eggs into a colander. Immediately shock them by putting them in an ice-bath. Let them cool there. It should take about 2 minutes. This shock helps to create the air pockets needed for clean shelling. It also prevents the egg from over-cooking as residual heat always results in further cooking. You can use these eggs immediately or dry and refrigerate them until you are ready. If chilling, be sure to mark the cooked eggs to avoid confusion.
5. To shell the egg, gently tap the eggs and roll them with soft pressure on a counter top. Try to get lots of little cracks instead of a few big ones to prevent the whole egg white from cracking.
6. Feel the bottom (flat part) of the egg. You will find an air pocket there. Gently press your thumb on the pocket to begin removing the shell. Carefully peel the rest of the egg. Rinse in cold water to make sure no bits of shell remain.
7. Enjoy! I’ll post the PERFECT deviled egg recipe later this week, so check back.


Leave a Reply