Homemade Low-Sugar Strawberry Jam is the best invention since sliced bread! Using strawberries picked at the peak of freshness to make homemade jam means that you don’t need to add much sugar. Best of all, the jam tastes of pure strawberries and nothing else! Make several batches because you’ll want to eat this fresh strawberry flavor year round,, but these also make marvelous gifts. Everybody loves homemade strawberry jam!
Here’s the kicker, it’s not that hard to make!
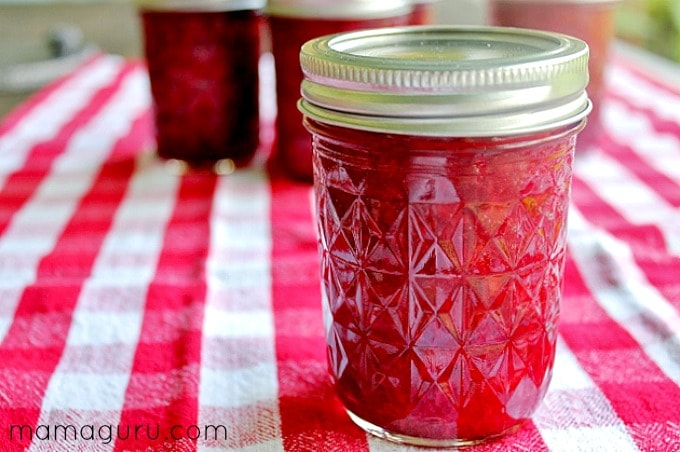
Exactly five hours after my family picked strawberries on a farm, I had them neatly sealed away as jam in beautiful glass jars. This was my very first experience canning, and I was shocked by how easy it was. For a few years I have wanted to do some canning, but it seemed like a complicated thing to learn. I wanted to wait until I had the hands on guidance of an experienced canner. My mom used to can when I was growing up, but those memories are as distant as she is (3,500 sad miles away). This column challenged me to experiment and I am so happy I did. It turns out canning is not terribly time consuming, nor complicated. I bought an instructional book from Ball, along with canning supplies and followed the safety instructions. It took me an hour to make six jars of jam, and very little of that was actual prep time. Not bad at all.
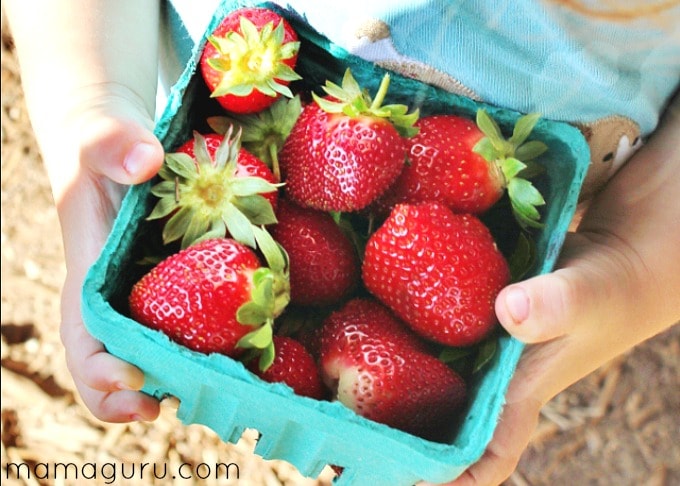
The jam turned out to be absolutely delicious, which may have made my life harder as we are blasting through the jars with gusto. I had two recipes open when I was making it, but I didn’t manage to follow either one. Originally, I wasn’t going to add any sugar, but then I added some lemon juice which tarted my berries a bit. My mother’s advice rang in my head, jam won’t get any sweeter while it sits in a jar. That advice, plus some information I read stating, jams with sugar retained brighter colors prompted me to add a scant cup. Mind you, I tasted the berries first. These were perfectly ripe. I would base the amount of sugar added on the natural sweetness of the berries.
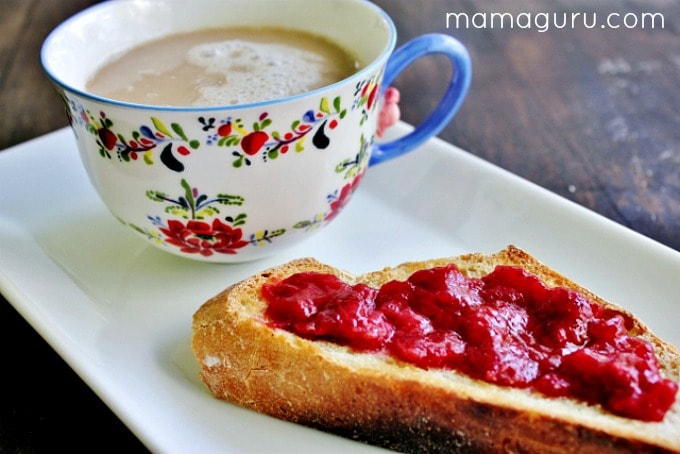
My batch of jam reminded me of the jam I ate on fresh croissants when I stayed with a host family in La Charité sur Loire, France. High praise indeed, because ever since that trip, I have eagerly snatched up every jam with a French label to varying degrees of satisfaction. This tasted like what jam should be: a marvelous spread of berries picked at the peak of perfection. I smeared some on a piece of toast from my freshly baked artisan bread the following morning and thought to myself: Now this is what breakfast should taste like: simple, honest and unabashedly delicious.
- 7 cups ripe strawberries, rinsed and hulled (about 6 cups mashed)
- 1 c water
- 1 T lemon juice
- 1 package no sugar needed fruit pectin
- 1 scant cup of sugar
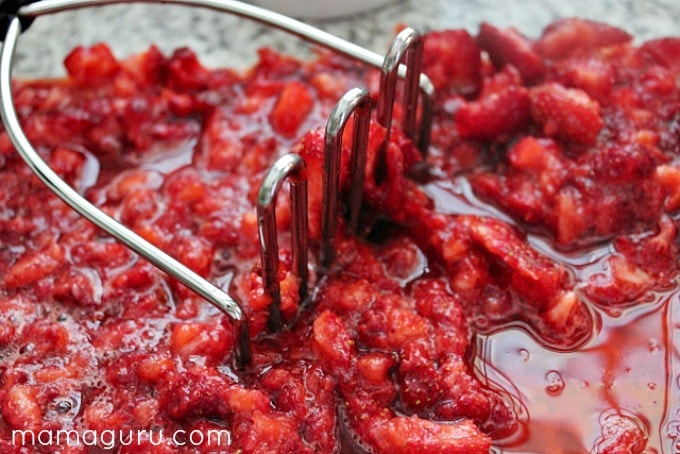
- Place your strawberries flat on a pan. Use a potato masher to mash them to the consistency you like. I prefer somewhere between a smooth and chunky texture.
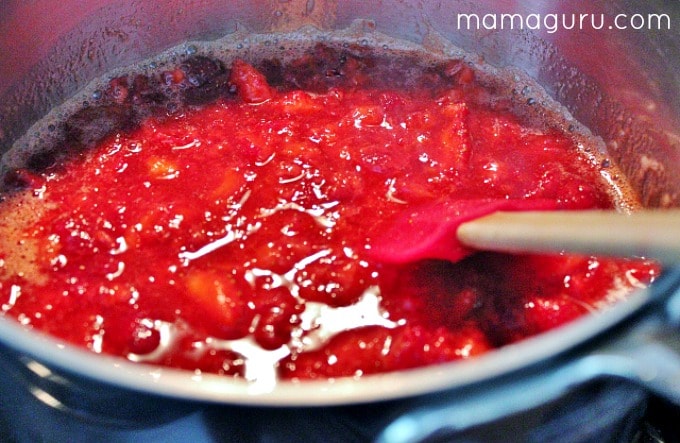
- Put the mashed berries and water into a pan over a medium flame. Add lemon juice and pectin. Stir well to combine. Bring to a boil, stirring very often.
- Boil for 1 minute. Taste and add sugar if needed. Boil for another 2-3 minutes, until jam starts to thicken. You can test it by dropping a spoonful onto a plate. If it is the correct consistency, it will ball up cohesively.
- Immediately ladle hot jam into hot, sterilized* 8 oz jars, leaving ¼ inch of space at the top. Put lid and ring on the jar and place it on canning rack, above boiling water.
- Once all jars are done, submerge rack, so jars are covered by at least an inch of water. Boil for 10 minutes. Remove and let cool on a rack or a towel, keeping a few inches of space between the jars. Don't touch or examine for 12-24 hours or you might inadvertently break the seal. Once completely cool, you can check to make sure each jar is properly sealed by nudging the edge of the lid. Enjoy, store or share.
* To Sterilize Jars:
1. Inspect all jars and lids for nicks. Wash in hot soapy water.
2. Place clean jars and lids into water simmering at about 180°. It’s easiest to place your jars in the canning pot and the lids and rings in a small pot. Take them out as needed using canning tools. When you do so, raise the temperature on the canning pot so it will come to a boil for the jam.
The Bottom Line
Taste-wise, I’m sure you can tell this is a winner. I absolutely love it. Although I did add a bit of sugar, it wasn’t excessive. (Alternatively some people add white grape juice, but I didn’t feel like buying a jug or juicing my own this time. Maybe I will another time.) I wound up feeling the same about this jam as I did when I made my own baby food: I like knowing exactly what the food looked, tasted and smelled like before I fed it to my kids. It’s comforting. When I serve homemade food to my beloveds, I genuinely feel like I am nourishing them.
It was a bit expensive for this batch because I needed to buy the canning equipment which was about $50. The good thing about that is that everything, but the lids are reusable, so that makes me feel like the cost of supplies was for my kitchen, rather than groceries. The cost of ingredients was $1.23 an 8 oz jar. A steal compared to Palmer’s All Fruit which I usually buy for $3.19 for 15 oz.
As far as effort is concerned, although it was less than I expected it to be, it did take a fair amount of work compared to absentmindedly tossing a jar in my cart. I see why people usually buy huge flats of fruit to can and I will definitely make bigger batches next time. I think it would be best to can a few times a year, based on my favorite harvests. The quality makes the effort worth it. Plus, I have decided to devote time and effort towards eating well, so it was a fun project for me. As we enjoyed our first tastes of the jam I told my husband, “Honey, you may never eat store-bought jam again.”
He stuffed another morsel in his mouth and smiled.
Here is a useful link to learn more about canning.




Leave a Reply